White Sandwich Bread Recipe That You’ll Love to Bake
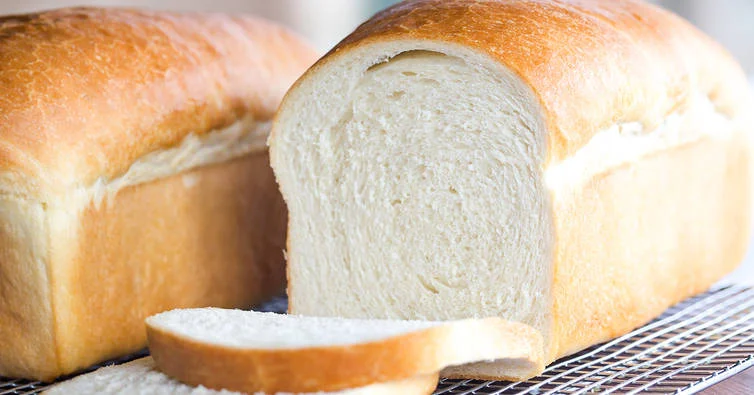
Freshly baked bread seems to ooze nostalgia. The scent wafting through your kitchen really is something unmatched. If you’re craving the memories of simple, home-cooked goodness that slices beautifully and toasts like a dream, you can bake the perfect loaf with simple pantry staples.
You butter believe that we have a loaf recipe that will have you questioning why you ever bought bread from the store in the first place.
Step-by-Step Guide to Baking the Perfect Loaf
There is true magic when you bake a loaf. That’s because it isn’t just about following instructions, it’s about engaging with the dough, feeling it change under your hands, and watching it transform into something truly special. Head to your pantry for the below and start creating your beautifully soft and flavourful loaf.
Ingredients for Classic White Sandwich Bread
Dry ingredients
- 500g (4 cups) bread flour
- 10g (1 ½ tsp) salt
- 10g (2 tsp) sugar
- 7g (2 tsp) instant yeast
Wet ingredients
- 300ml (1 ¼ cups) warm water (38°C/100°F)
- 30g (2 tbsp) unsalted butter, softened
Step 1 – Mix the dough
In a large mixing bowl, whisk together the bread flour, salt, sugar, and yeast.
Add the warm water and mix with a spoon or your hands until a shaggy dough forms.
Knead in the softened butter, making sure it’s fully incorporated into the dough.
Step 2 – Knead the dough
Transfer the dough to a clean, lightly floured surface. Knead by hand for 10 – 12 minutes, or until the dough becomes smooth and elastic.
If using a stand mixer, knead with the dough hook attachment on medium speed for 7 – 8 minutes.
The dough is ready when it passes the windowpane test: Stretch a small piece of dough between your fingers. If it stretches thin without tearing, you’ve developed enough gluten for a light, airy loaf.
Step 3 – First rise (bulk fermentation)
Lightly grease a large bowl with oil and place the dough inside, turning it once to coat it. Cover with a damp cloth or plastic wrap.
Let the dough rise in a warm, draft-free spot for 1 to 1.5 hours, or until doubled in size.
If your kitchen is cool, place the dough in an oven with just the light on to create a warm environment.
Step 4 – Shape the loaf
Once the dough has doubled in size, gently punch it down to release excess gas.
Turn it out onto a lightly floured surface and shape it into a rectangle.
Roll the dough into a tight log, pressing lightly with each roll to create surface tension.
Pinch the seam and tuck the ends under to form a smooth loaf.
Step 5 – Second rise (proofing)
Place the shaped dough seam side down into a greased 9×5-inch loaf pan.
Cover loosely and let it proof for 30 – 45 minutes, or until the dough rises just above the rim of the pan.
To check if it’s ready, gently press the dough with your finger. If it springs back slowly, it’s proofed correctly.
Step 6 – It’s time to bake!
Preheat your oven to 190°C (375°F).
Once the dough has finished proofing, place it in the preheated oven.
Bake for 25 – 30 minutes, or until golden brown and hollow-sounding when tapped on the bottom.
Optional: Brush the top with melted butter for an extra-soft crust.
Step 7 – Cool & slice
Remove the bread from the oven and let it cool in the pan for five minutes.
Carefully transfer it to a wire rack and let it cool completely before slicing.
Once cooled, slice and enjoy! It will be hard not to finish the whole thing at once…
How can I ensure I make the best homemade bread?
Use fresh yeast
Expired yeast won’t give your bread the rise it needs. If unsure, dissolve it in warm water with sugar and wait for bubbles to form.
Don’t rush proofing
When it comes to proofing, it’s important to get the perfect balance. Under-proofed bread will be dense, while over-proofed bread can collapse in the oven.
Create steam in the oven
Want that iconic golden crust? You can place a small tray of hot water in the oven while baking to create steam, which gives the bread a better rise and a slightly crisper crust.
Let the bread cool before slicing
emember, we want an airy loaf, do make sure you don’t cut too soon as this releases steam, making the crumb gummy instead of light and fluffy.
How to store & freeze your bread
Keep your lovely soft, bouncy loaf extra fresh and take care of it by storing it correctly. Homemade bread doesn’t have preservatives, which means it can go off sooner than store bought bread. Here’s how you can make sure it stays fresh.
Room Temperature
Store in an airtight container or bread box for up to four days.
Freezing
Slice the loaf, wrap individual slices in plastic wrap, and store in a freezer bag for up to 3 months. To thaw, simply pop a slice in the toaster or let it sit at room temperature.
Save time and money with premade bread dough
Don’t worry if you feel like some days you need a quicker option when it comes to baking. If you run a bakery, café, or restaurant, using high-quality premade sandwich bread dough can save you time, labour, and costs. Instead of spending hours mixing, kneading, and proofing from scratch, simply thaw, shape, proof, and bake.
You won’t lose the quality of product, but you’ll gain more time to focus on customer experience and business growth. Why not try streamlining your baking process, so that you can serve fresh bread on demand, reduce overhead costs, and improve workflow efficiency?